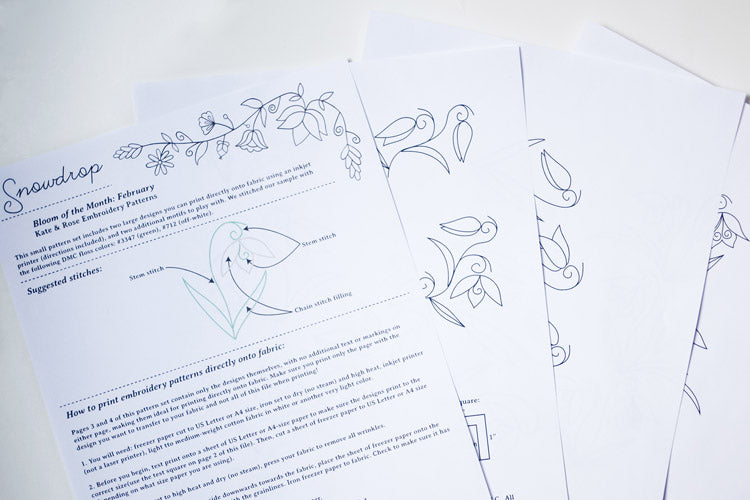
How to print embroidery patterns onto fabric with an inkjet printer: a tutorial
- freezer paper
- fabric (preferably a stable medium-weight woven cotton like quilting cotton)
- scissors or rotary cutter (whatever your preference)
- iron set to high heat and dry (no steam)
- inkjet printer (laser printers won't work)
Now lay the freezer paper onto your fabric, lining up the long edge with the grainline (this will help keep the fabric stable as it goes through your printer). Make sure the freezer paper's shiny plasticky side faces downwards, towards the fabric.
Now, with your iron set to high heat and no steam, iron the freezer paper onto the fabric. Check to make sure it adhered everywhere.
Cut the fabric to the size of the freezer paper, keeping the edges neat.
Feed the fabric-paper you just created through your inkjet printer, making sure that the fabric is facing towards the print head. On my printer this means the fabric faces forward. If you don't know which way the print head faces, test it using a blank sheet of paper.
Now press print! Okay, first make sure you're ONLY printing the page with the design you want to use, so make sure you change your print settings to print JUST THAT PAGE, and make sure you turn off scaling, or have it set to printing at actual size. (The second page of the Snowdrop PDF download has a handy test square if you'd like to do a quick paper test print be sure it's printing at the correct size.)
When you're done, peel off the freezer paper.
And ta-da! You have a beautifully printed design on fabric, all ready to get hooped up and stitched!
How easy is that, right?


